January Watercolour Ideas Plan
Daily Painting Exercises

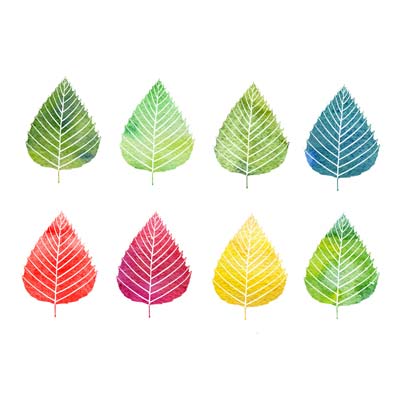
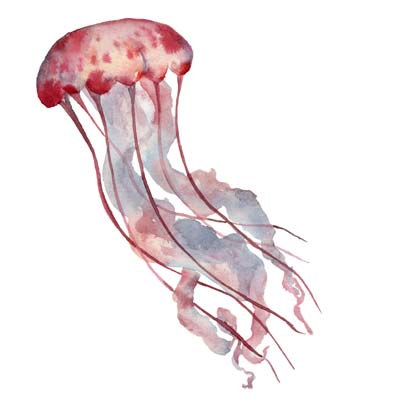
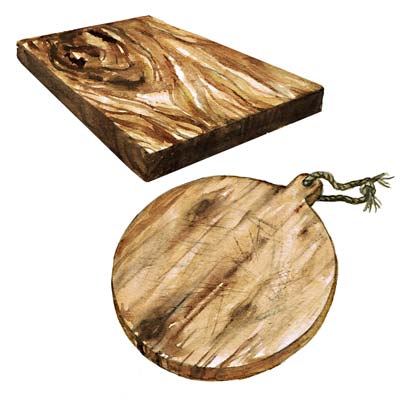
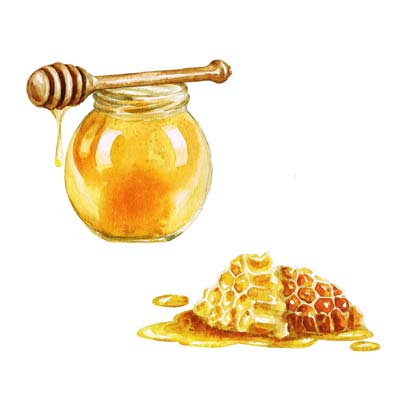
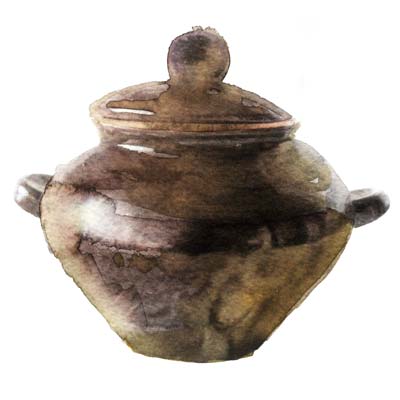
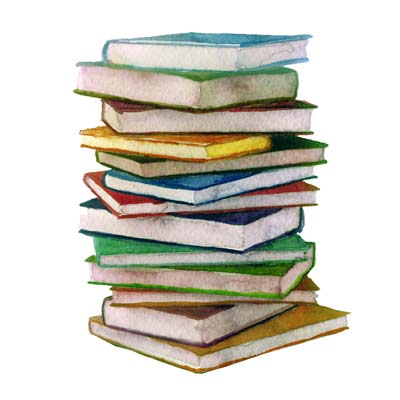
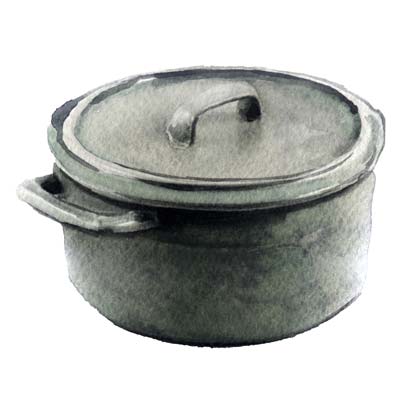
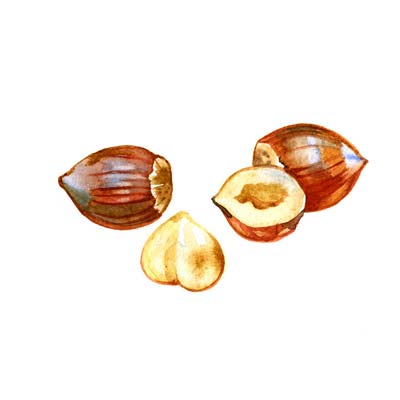
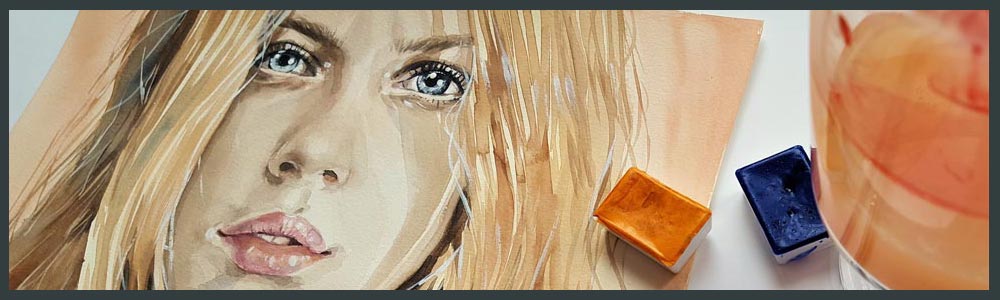
The idea is to paint a smaller watercolour picture every day for 10 minutes.
Anyone who wishes to draw or paint regularly must make this skill a habit. It is much easier to achieve this goal by taking 10-15 minutes a day, rather than a couple of hours per week. It is the daily repetition that creates a new routine.
There are 6 days of the weeks with new projects and the seventh day is reserved for work you haven't finished or to rest. Please note that these painting exercises are provided for beginners to intermediate to aid in getting a daily routine.
There are 6 days of the weeks with new projects and the seventh day is reserved for work you haven't finished or to rest. Please note that these painting exercises are provided for beginners to intermediate to aid in getting a daily routine.